Playing in the Mud

With the Covid-19 pandemic now in full swing here in New Mexico, I’ve found plenty to keep busy.
Since we moved into our 140 year old New Mexico Pueblo style home last year, I knew at some point we would need to address an issue with the wall that circles most of the property. Unlike most walls that the typical homeowner has to deal with, ours is made of dirt and sand. Surprisingly, it has held up pretty well against the elements. I estimate that it was built roughly 30 years ago when the house was remodeled. And it has had repairs along the years evident by all the mortar and cement patches, but it gives the property “character”.
This project was really requirement to address a structural issue rather than a cosmetic one. One corner of the wall had deteriorated mostly because the drip irrigation system was not properly adjusted and had sprayed the wall over the years. Moisture is the enemy of adobe and so I set out to repair that section.

First, I researched adobe to learn as much as I could about the fundamentals of creating, applying and maintaining it. Turns out that it is pretty easy to make (70% sand 30% clay soil). You can add a little straw to the mixture to add tensile strength and to keep the product from cracking as it dries. I made a couple of batches last month to test whether it would hold up to the elements and what I should expect when it dried. You would be surprised how durable the final product was. It really feels and looks almost like concrete.
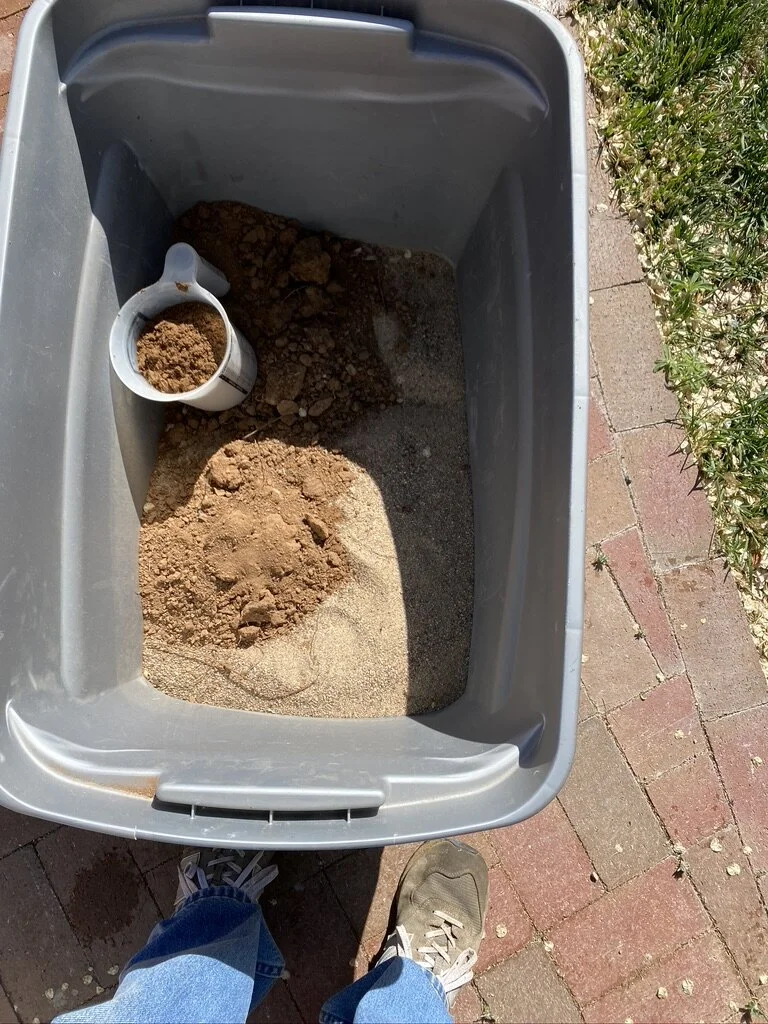
Around here, it’s pretty easy to find soil that is mostly clay. The Taos Pueblo Native Americans have been using the soil around them for around 1,000 years to build their adobe structures. A trip about 2 miles out of town was all that was needed to acquire the clay soil. And we had plenty of sand left over from a prior construction project last year. I added water until the mud had a consistency of wet cement.
As I mentioned, you also want to add a little straw to the mixture.


Finally, it was time to apply the adobe to the wall. I moistened the surface of everything that the adobe touched so that it would adhere properly. When doing the research, I found that when working with old adobe, it is important to make sure what you’re using has a strong bond to the original material (this is not the case with cement or mortar), otherwise you can do more damage than not if you’re not careful.
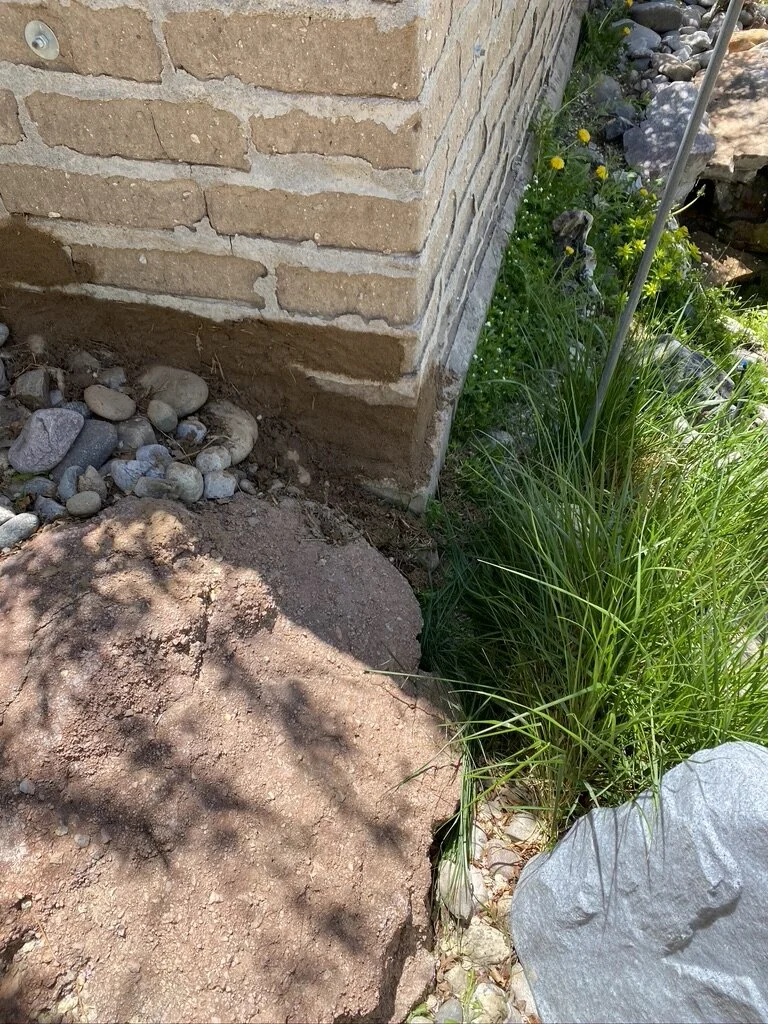

It will take the adobe 3-5 days to completely dry despite the low relative humidity (1%) this week. The color will fade to a lighter tan color, but still not quite match the tint of the surrounding bricks which have been bleached by the sun for over 30+ years. Once it dries, I’ll clean the areas where the adobe has settled on the mortar so that it matches the existing mortared sections.
All in all I’m happy with the results. I’ll update the blog when the final product dries…
9.19.2020 Update:
